
Chinos are trending for decades and can be worn for different occasions, The Skinny Chino Pants are made of durable cotton fabric and stretch fiber for comfort. They are a wardrobe staple and have a slim fit with a tapered leg.
Nowadays, chinos still be a great choice in your wardrobe, but there always be a problem picking an idea for skinny chinos.
Table of Contents
How to pick right-fit skinny chinos?
We have already written something about how to pick right-fit skinny chinos before, if you are interested you can click here
Start to make your own skinny chinos
If you already have a pair or more pairs of slim fit chinos but did not wore them more, you can consider to transfer the slim fit pants into skinny chinos, since the taped ankle will be more comfortable and fashionable than losing one.
Here will have another problem, how can we transfer slim-fit pants into skinny? I have totally no idea about that, what should I do first? No worries, I will should you full sheet of stuff needed and you can just simply follow my noted to make your own skinny chinos.
Here are several ways to turn your straight-leg pants skinny:
- Sew a new seam.
- Use an iron-on fusible tape.
- Add zippers.
- Use a pin roll.
Whether you are feeling audacious enough to suture or looking for no- suture styles, keep reading as we dive into the ways you can transfigure your straight leg pants into your new brace of skinnies.
Sew methods
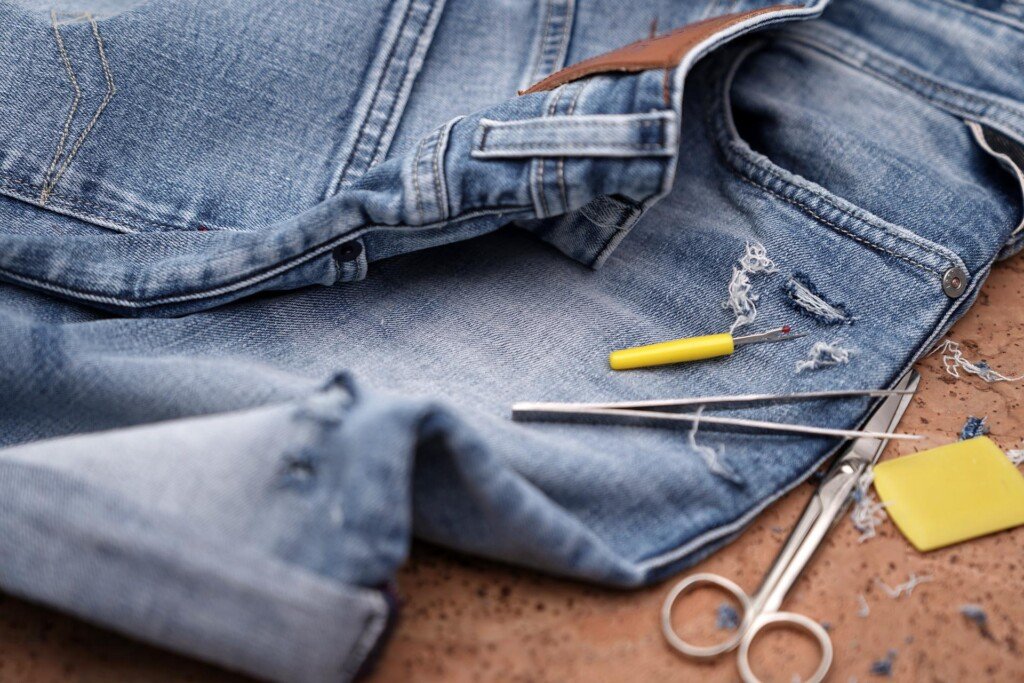
Stuff needed:
- Jeans or pants
- Legs
- Scissors
- Sewing machine
- Thread
Now that is follow the following tips
1, Preparing Your Straight-Leg Pants
Before you can begin to suture your pants, you need to determine how you want them to fit. Since the confluence will be darned while the pants are outside out, it’s easiest to put your pants on outside out to jut them. You can jut them while wearing the pants rightly, but you risk legs coming loose or poking yourself when you do have to turn them outside out.
Leg The New Seam Location
Once you have your pants on, pull at the outside confluence to determine how you want your pants to fit. For skinny pants, this means that they will be the tightest at the ankle. Use legs to secure where you want your new confluence to be darned. You can do this by cascading the fit at the ankle and also periodically cascading until you reach the being confluence. Or you can use two legs, one at the bottom and one at the top where the confluence will end, and also suture a line from one to the other.
Mark The New Seam Location
still, you can rather use a marker to draw a line for your new confluence, If you do not want to use legs. For this system, put the pants on outside out, sit on the ground with your legs straight out in front of you, and also pull the outside confluence down from your leg and draw the new confluence to suit the fit you want to achieve.
Using outsiders. Inside Seam
It’s important to note that you do not have to use the outside confluence, and in some cases, just using the outside confluence can ruin the look of the pants.
The inside confluence of jeans tends to be double darned. It looks nicer than the outside confluence, which is a simpler sew, and it’s sturdier as well. So you may not want to ruin that inside confluence.
still, similar to perpendicular stripes, also altering only the outside confluence will beget the pattern to pull to one side, If you’re altering pants with patterns. You can fix this by altering both the inside and outside seams to keep the pattern straight.
2,Creating A New Seam
Once your pants are marked to the new skinny leg fit, you can remove them and begin to sew a new seam. However, you can simply use your sewing machine to suture along that drawn line, If you used a marker.
For legs, you can either suture from the nethermost leg to the top leg or suture along the line created by the multiple legs used.
To produce further stability in the pants’ verge, you can double suture where the confluence crosses the verge.
3,Finishing Touches
Once the new confluence is darned, try your pants on and see how they look and feel. It’s important not to incontinently cut the redundant fabric off of the pants until you’re certain you’re satisfied with the fit.
However, you can suture a new confluence since you’ll be cutting off the fabric holding the old confluence If you need to make the confluence closer to your leg.
However, or the acclimated confluence will be too close to your first, you can simply cut the thread and pull the confluence loose and start again If you need to open the leg up more.
When you are happy with the fit, you can cut the redundant fabric from the inside of the pants. Leaving1/4 to1/2 an inch of fabric from the confluence will allow the pants to naturally fray without snooping with your stitched line.
No-Sew Methods
If you aren’t one for sewing, you can use a couple of options to create skinnies. However, when using these methods, it will be best if you only need to alter the ankle areas to create a tighter fit.
If you need to take in your pants’ entire leg and aren’t comfortable sewing, we recommended seeking out a tailor or seamstress to help you out!
Iron-On Tape
This is one of the least permanent methods if you’re looking for a quick and simple fix that you don’t mind reapplying every couple of wears.
Iron-on fabric tape is similar to double-sided tape. Both sides are sticky, and when you place it between two pieces of fabric and apply an iron, it causes the tape to fuse to the fabric, holding it together.
1,For this method, you will begin by putting your pants on inside out and once again pinning the area that needs to be altered, preferably only a few inches upwards from the bottom.
2,Once they’ve been pinned, you can release the seam for the area you will be altering by cutting the thread and pulling it until the fabric is detached.
Then you can lay the fabric flat, one side on top of the other, and place a strip of tape the length of the open seam between the fabrics where the pins are located.
3,Since the pants are inside out, the tape will be sticking to the fabric on the side that is usually seen. You can then apply an iron to the fabric per the instructions and allow it to cool.
If you try on the pants and they need adjusting, you can pull the fabric apart and then peel the tape off.
Again, it’s important not to cut the excess fabric off until you are satisfied. You may even consider not cutting the excess fabric off if it’s a smaller amount that won’t bother you being inside the ankle of your pants.
Zippers
This is a fun way to achieve the skinny jeans look and add a bit of embellishment. For this method, you will follow the same basic steps of the iron-on tape in terms of trying the pants on inside out and pinning them where you want the alter to be. Then you will need two zippers and fabric glue.
1, Once the pants have been pinned, you will actually need to cut some of the excess fabric off, so be as certain as you can that you like the fit.
You can always cut small amounts of fabric off at a time and continue to try the pants on to make sure you don’t cut too much off.
2, Once you are satisfied, measure the length of the cut; both of your zippers will need to match this length. Use the fabric glue to attach the zipper to the pants.
The zipper opening should be at the bottom of the pants and should be facing the side of the fabric that is visible when being worn.
To make it as sturdy as possible, glue the fabric as close to the teeth of the zipper as you can.
Once you’re finished, turn the jeans right side out, and you’re good to go! The best part about this option is that there are tons of different colors and styles of zippers to choose from, so you can be as adventurous as you want.
Pin Roll
This option is a quick and simple fix, perfect for creating a skinny cuffed look or for being able to tuck straight-leg pants into boots. A pin roll is a rolling method to cuff your pants that makes them tighter at the ankle. It’s a simple process, but obviously not permanent.
To accomplish the pin roll, pull the outside seam away from your ankle. Pinch the seam to your desired fit, and then fold the excess fabric in on itself. While holding this fold, begin rolling from the hem upwards. this will secure the vertical fold into the horizontal fold.
Last words
After all my above suggestions, I think you now have an idea of how to make your own skinny pants, if you have any comment, please kindly leave an comment.
More skinny jeans or pants, please visit nicerior.com get more skinny outfit